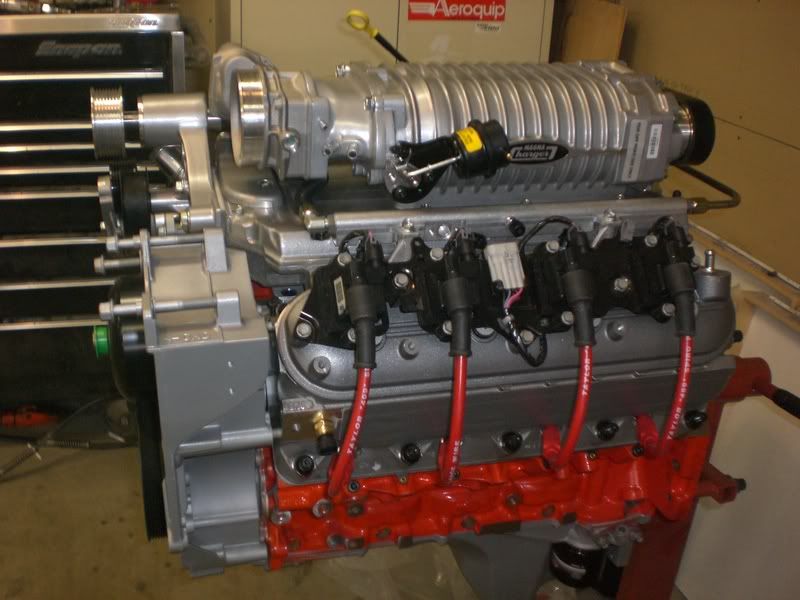
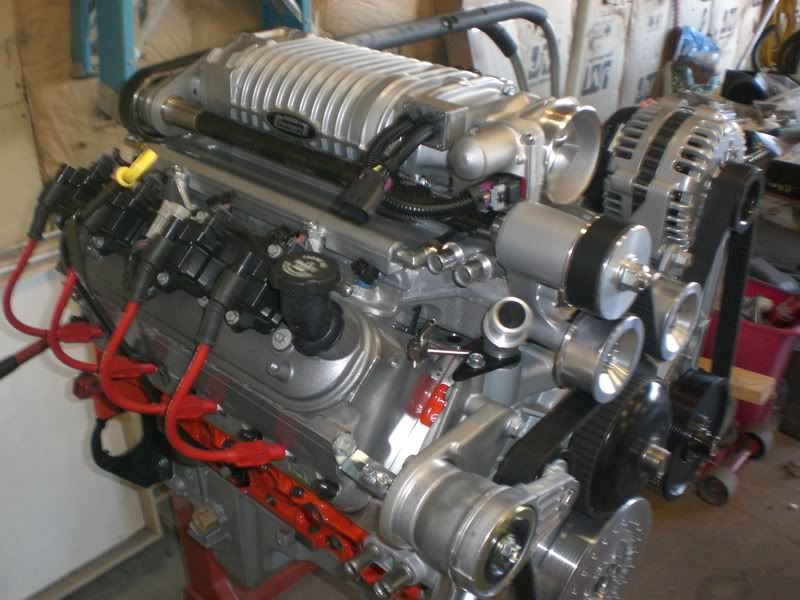
My new 67 sedan- LSX project -lots of pics
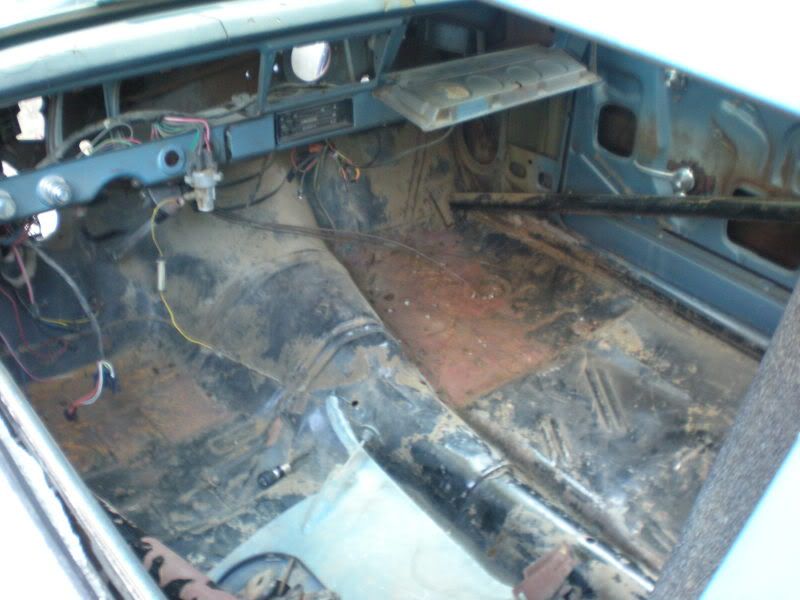
This is how it came:
![Image]()
![Image]()
wont judge you Juan
![Image]()
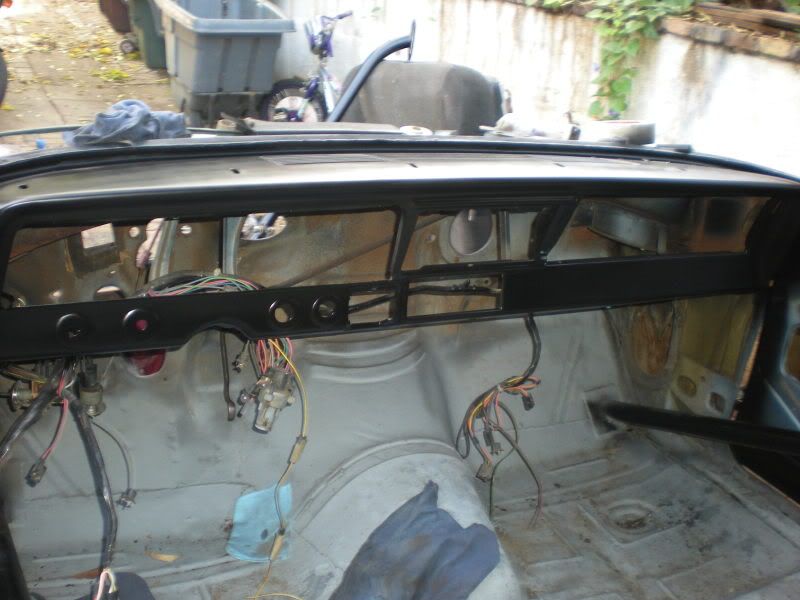
After some paint with aerosol cans:
![Image]()
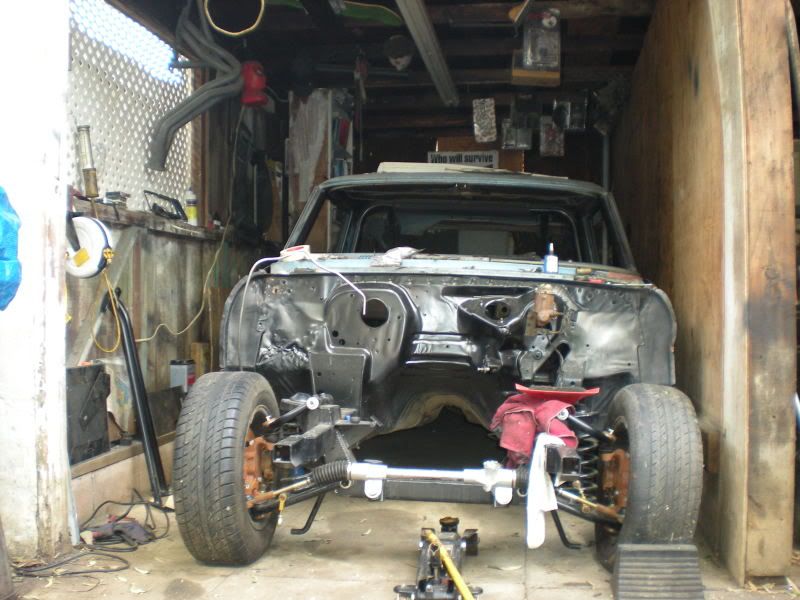
front clip mounted
any ideas as to why it would sag in the front but be high on the passenger rear? it has newish shocks in the rear but i looks like the same old factory monos
:
![Image]()
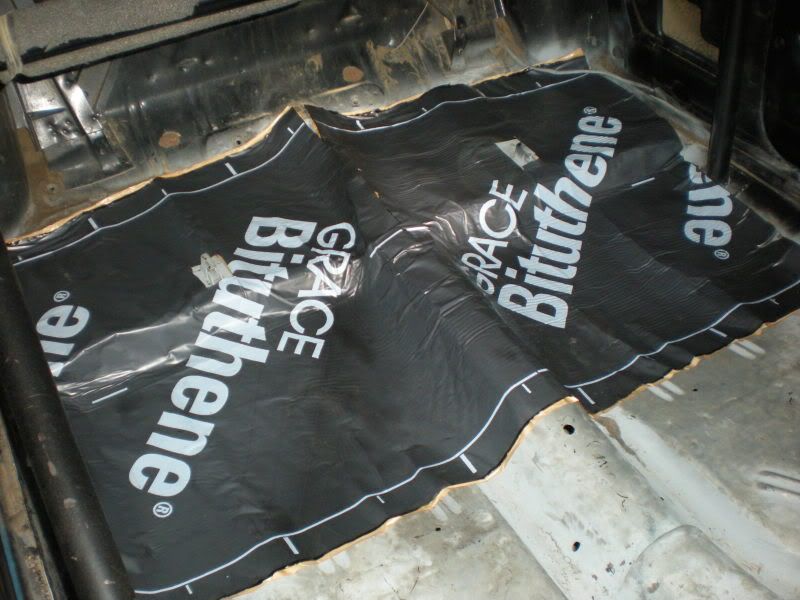
Bituthene just mocked over the floor:
![Image]()
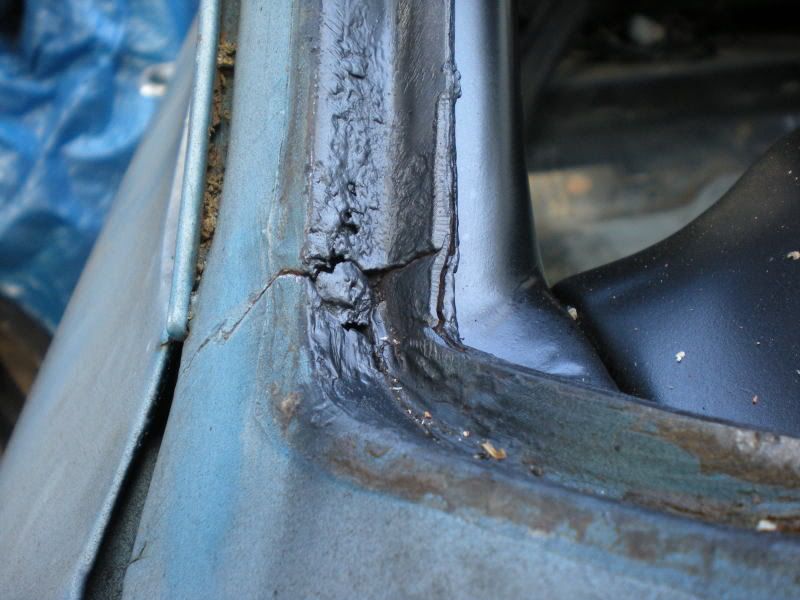
any ideas on plan of attack? its the bottom right part of the windshield channel. Ive heard of rustbusters but not sure if that would help.
![Image]()
I plan to keep the cage, but with the bench seat:devil:
This is how it came:
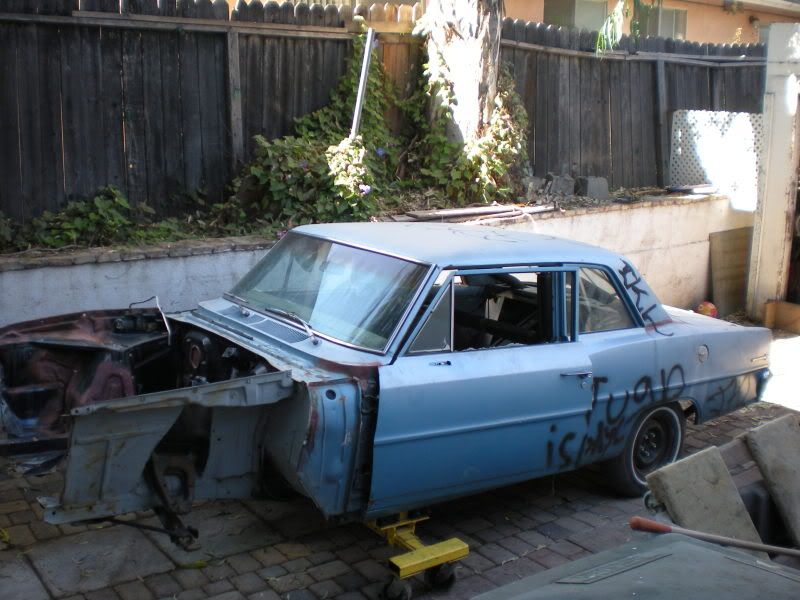
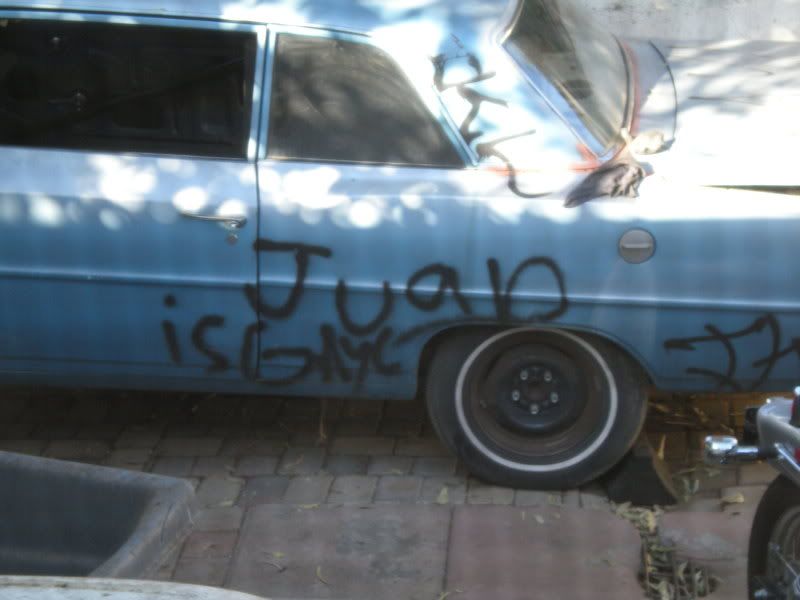
wont judge you Juan
After some paint with aerosol cans:
front clip mounted
any ideas as to why it would sag in the front but be high on the passenger rear? it has newish shocks in the rear but i looks like the same old factory monos
:
Bituthene just mocked over the floor:
any ideas on plan of attack? its the bottom right part of the windshield channel. Ive heard of rustbusters but not sure if that would help.
I plan to keep the cage, but with the bench seat:devil: